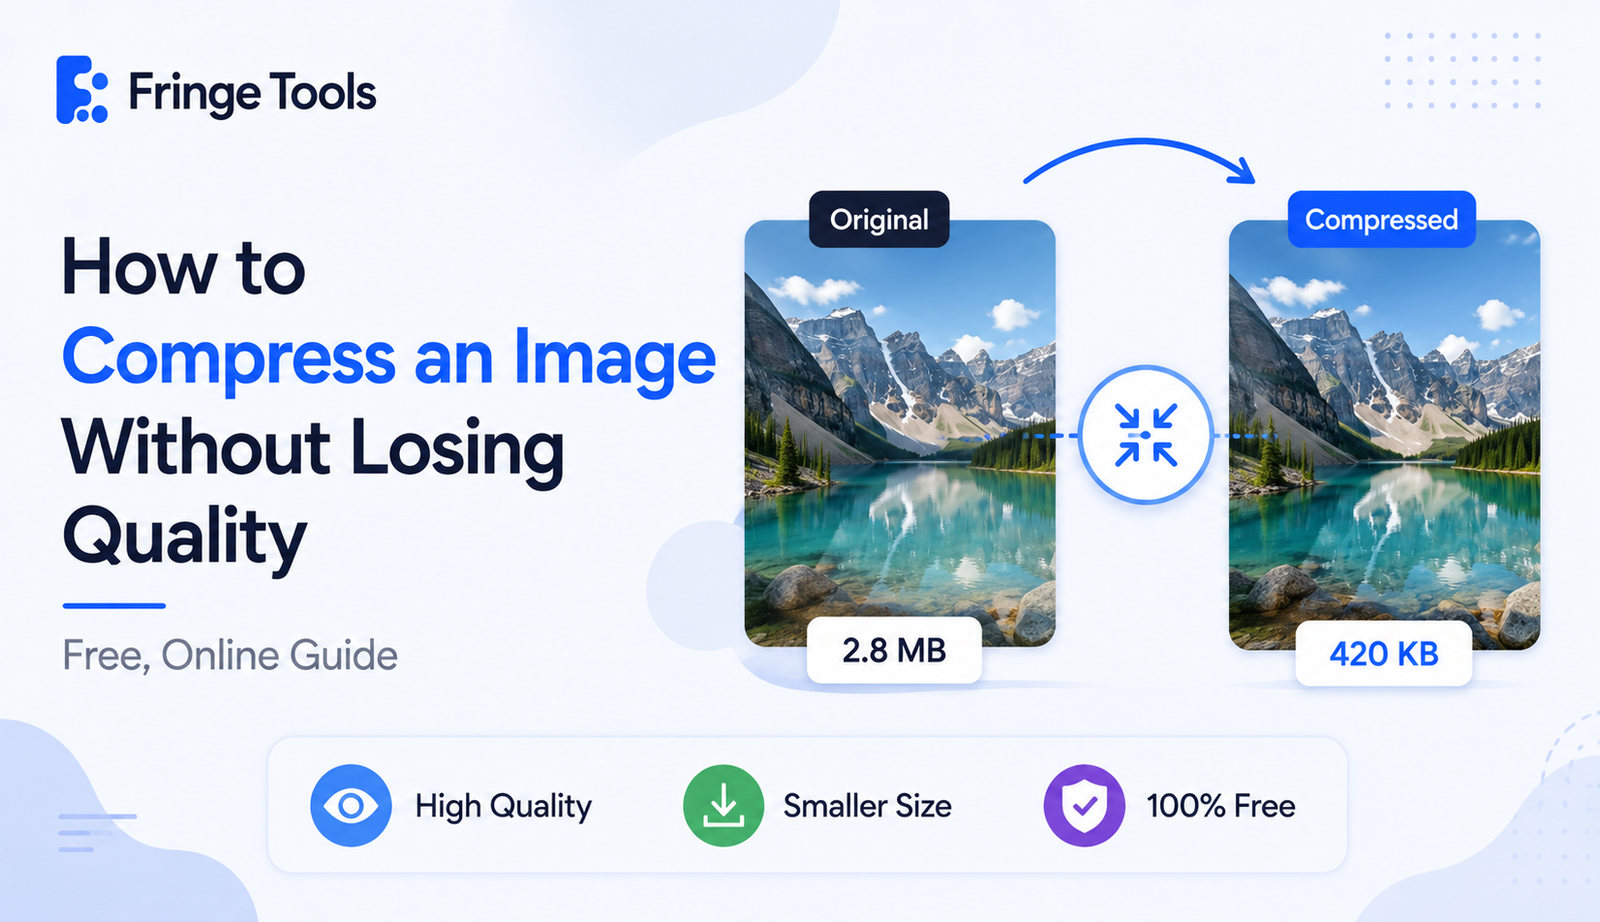
Answer in brief: If you want to reduce the size of an image without compromising its quality online without charge, try a program that utilizes 'lossy' compression within reasonable limits of usually about 75-90% of quality rather than fully compressing the image as much as possible. This removes data your eyes won't notice while keeping the image visually sharp.
The tricky part isn't finding a compressor. It's understanding that "smaller file" and "no visible quality loss" aren't the same setting, and picking the wrong one is why so many compressed images end up looking a little off.
Why Some Compressed Images Look Bad and Others Don't
Every photo has some amount of data your eyes genuinely can't perceive subtle color gradients, noise in shadows, detail beyond what a screen can actually display. Compression works by identifying and removing that invisible data first.
The problem starts when a tool (or a person adjusting the slider) pushes past that point and starts removing data your eyes can perceive sharp edges start to blur slightly, flat color areas develop blocky patches, and skin tones or skies can look faintly grainy. That's the visible line between "compressed efficiently" and "compressed too much."
How to Compress an Image Without Losing Quality
-
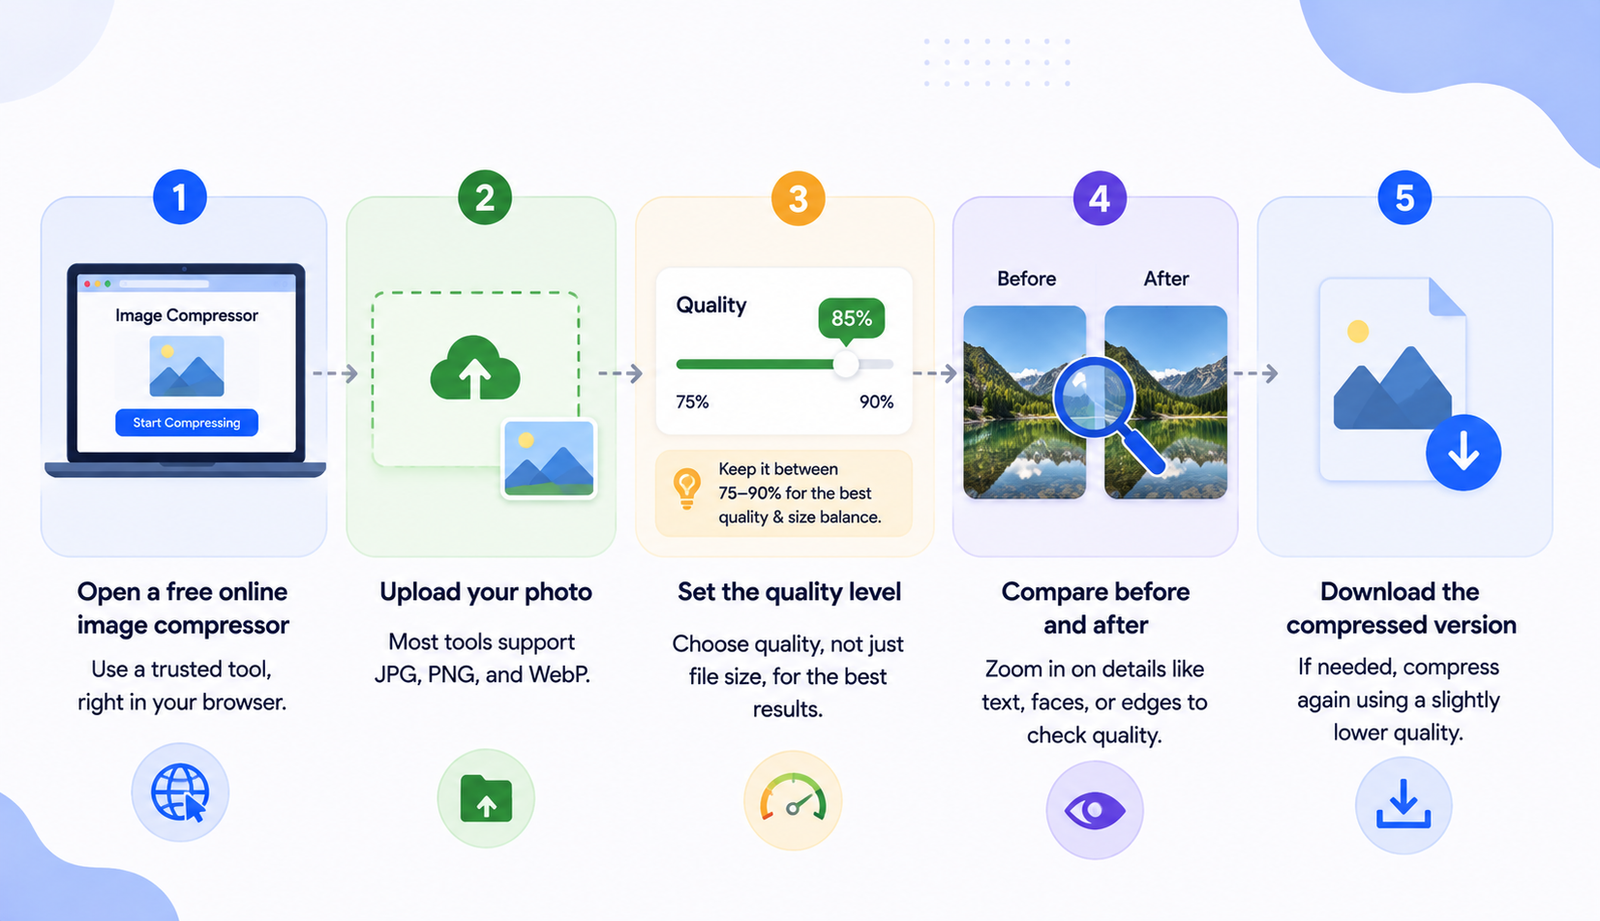
Open a free online image compressor, like Fringe Tools' Image Compressor, directly in your browser.
-
Upload your photo. Most tools support JPG, PNG, and WebP.
-
Set the quality level, not just the file size. If the tool gives you a quality slider, keep it in the 75-90% range this is generally where you can't tell the difference from the original, but the file size drops significantly.
-
Compare the before and after. Zoom into a detailed area of the image, like text, a face, or a sharp edge, where quality loss shows up first.
-
Download the compressed version. If it still looks a little too big, run it through again at a slightly lower quality rather than dropping straight to the lowest setting.
The Settings That Actually Matter
If you want to reduce photo size without quality loss consistently, a few things make a bigger difference than people expect:
-
Quality percentage over "maximum compression." A lot of tools have a one-click "compress as much as possible" button. Skip it. A controlled quality setting almost always gives a better size-to-quality balance.
-
Resize before you compress, if the image is huge. A photo that's 4000 pixels wide but will only ever be viewed at 800 pixels wide is carrying a lot of unnecessary data. Resizing first, then compressing, often shrinks the file more than compression alone without any visible quality loss, since you were never going to use that extra detail anyway.
-
Match the format to the image type. Photos compress best as JPG or WebP. Screenshots, logos, and images with flat color or text look sharper and often end up smaller as PNG, because PNG doesn't blur edges the way lossy JPG compression can.
What "No Quality Loss" Actually Means in Practice
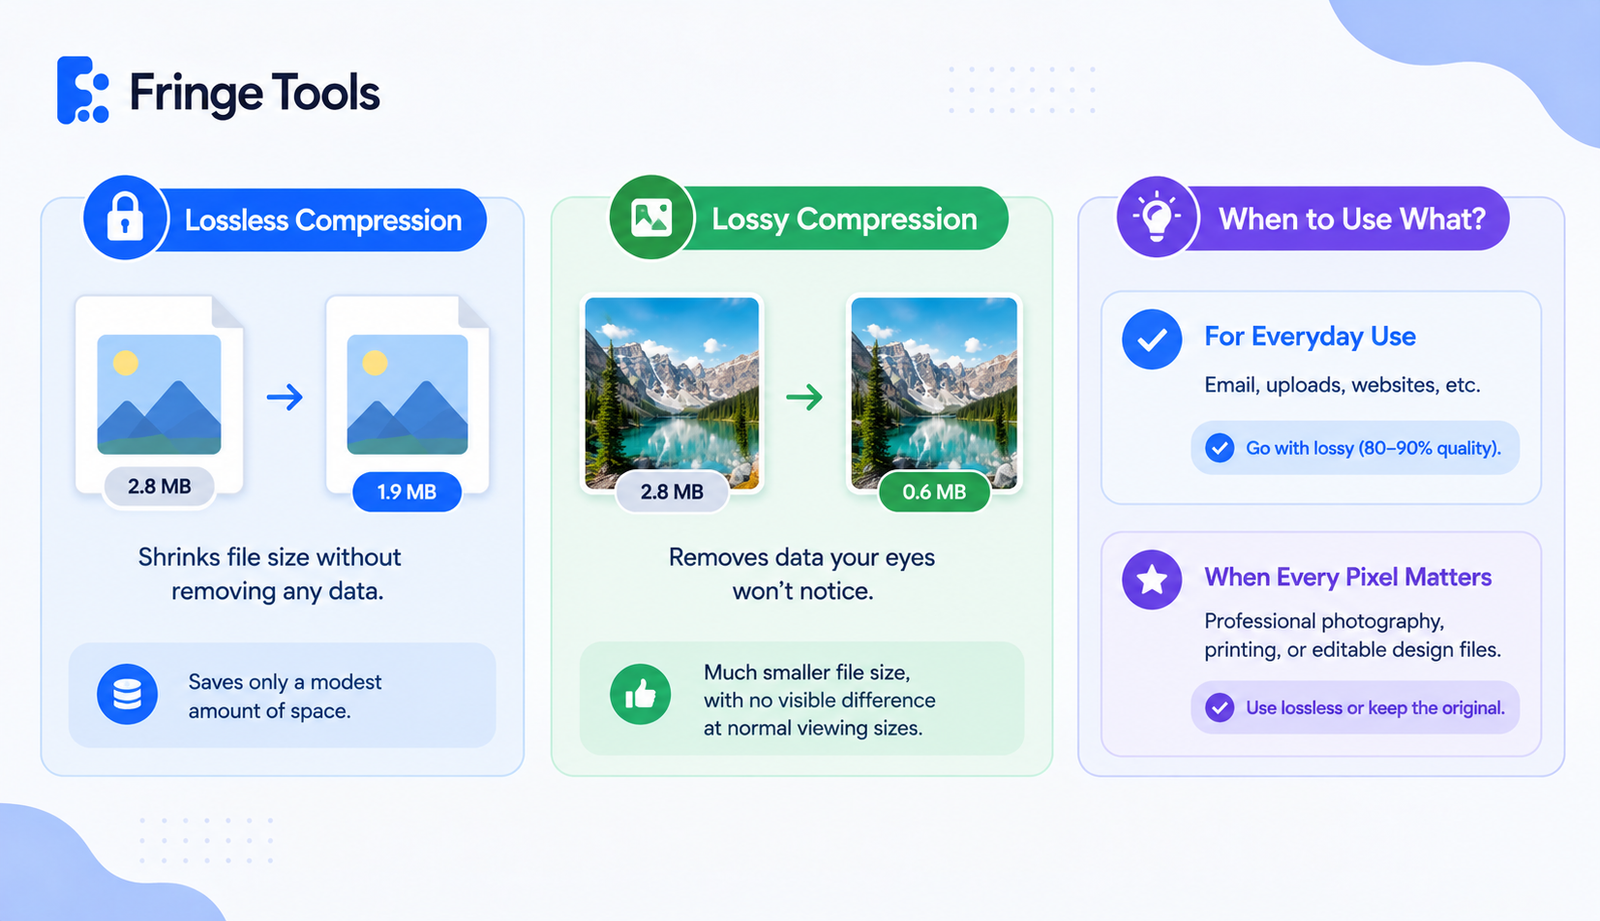
Technically, true "lossless" compression exists - it shrinks file size without removing any data at all, similar to zipping a file. But it only saves a modest amount of space compared to lossy compression. For most everyday use (email, uploads, websites), a well-tuned lossy compression at 80-90% quality is the more practical choice: the file gets meaningfully smaller, and the difference is invisible to the naked eye at normal viewing sizes.
If you're working with something where every pixel matters professional photography for print, or a design file that will be edited further lossless compression or keeping the original is worth the extra file size.
A Simple Way to Test If You've Gone Too Far
Compress the image, then place the original and the compressed version side by side at full screen. If you have to actively hunt for a difference, the compression level is fine. If the difference jumps out immediately blotchy skies, blurry text, fuzzy edges dial the quality setting back up and compress again.