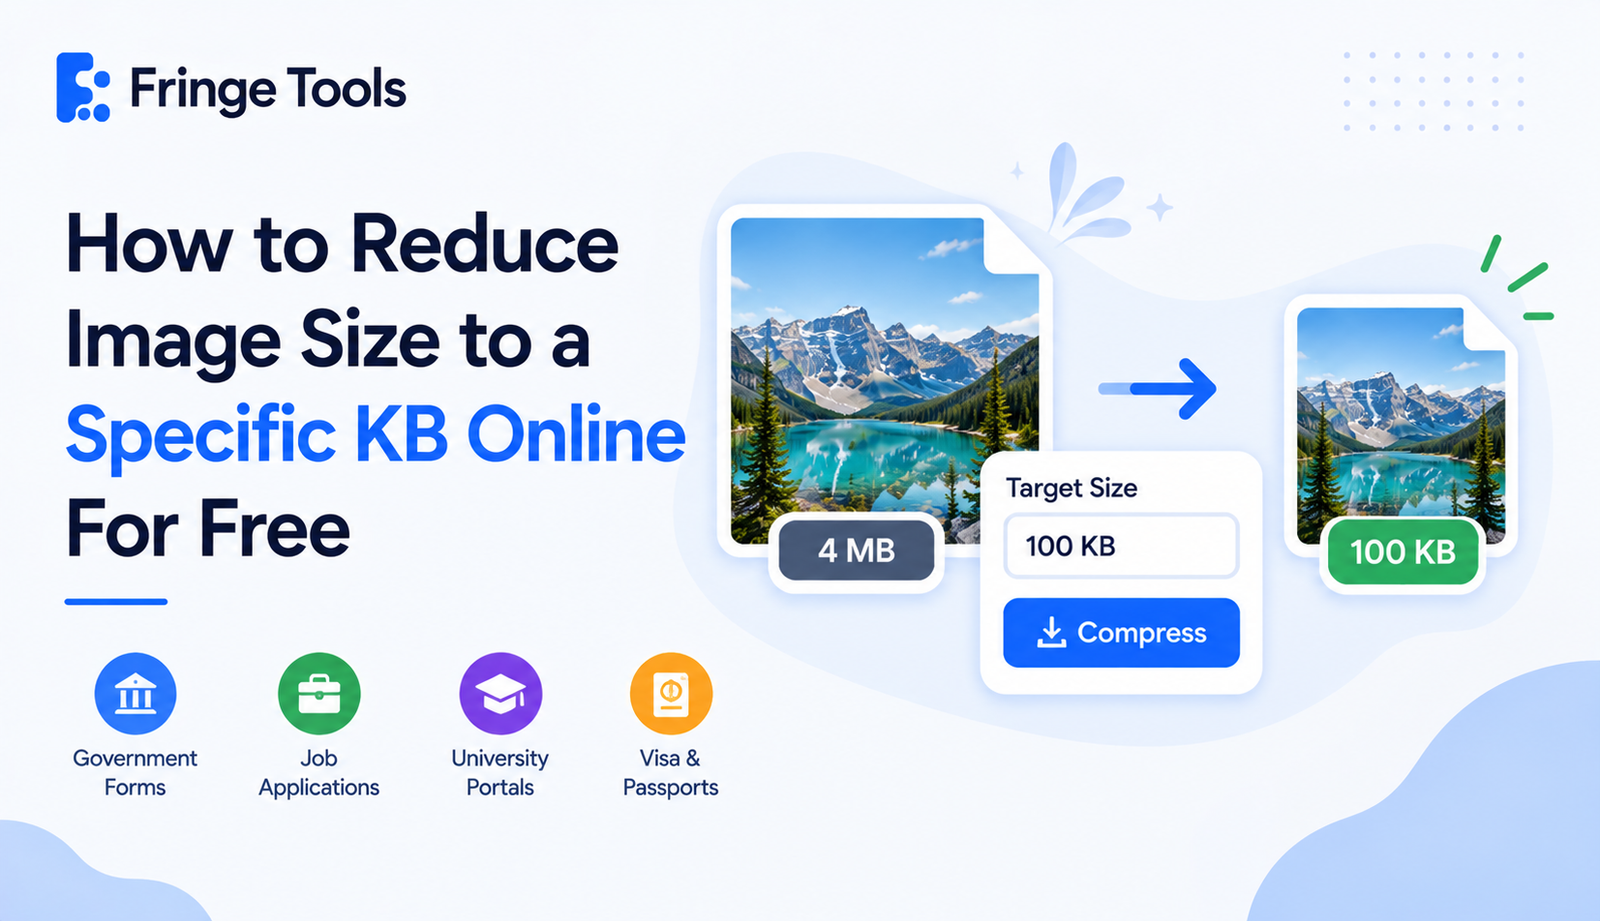
Quick answer: To reduce an image to a specific size like 100KB or 200KB, upload it to a free online image compressor that lets you set a target file size directly, rather than just a quality percentage. The tool automatically adjusts compression until the file lands under your limit.
This comes up constantly with government forms, job applications, and university portals: "Photo must be under 100KB" or "Upload size: max 200KB." Not a quality setting. Not a percentage. An exact number, in kilobytes, that your phone's 4MB photo is nowhere close to.
Why Forms Ask for Such Specific File Sizes
Most of these limits aren't arbitrary. Government and institutional portals are often built on older systems that process thousands of uploads, so a strict, small size cap keeps their servers from getting overwhelmed. It's frustrating on your end, but the fix is simple once you know what to look for in a compression tool.
How to Reduce Image Size to 100KB (or Any Target Size) Online
-
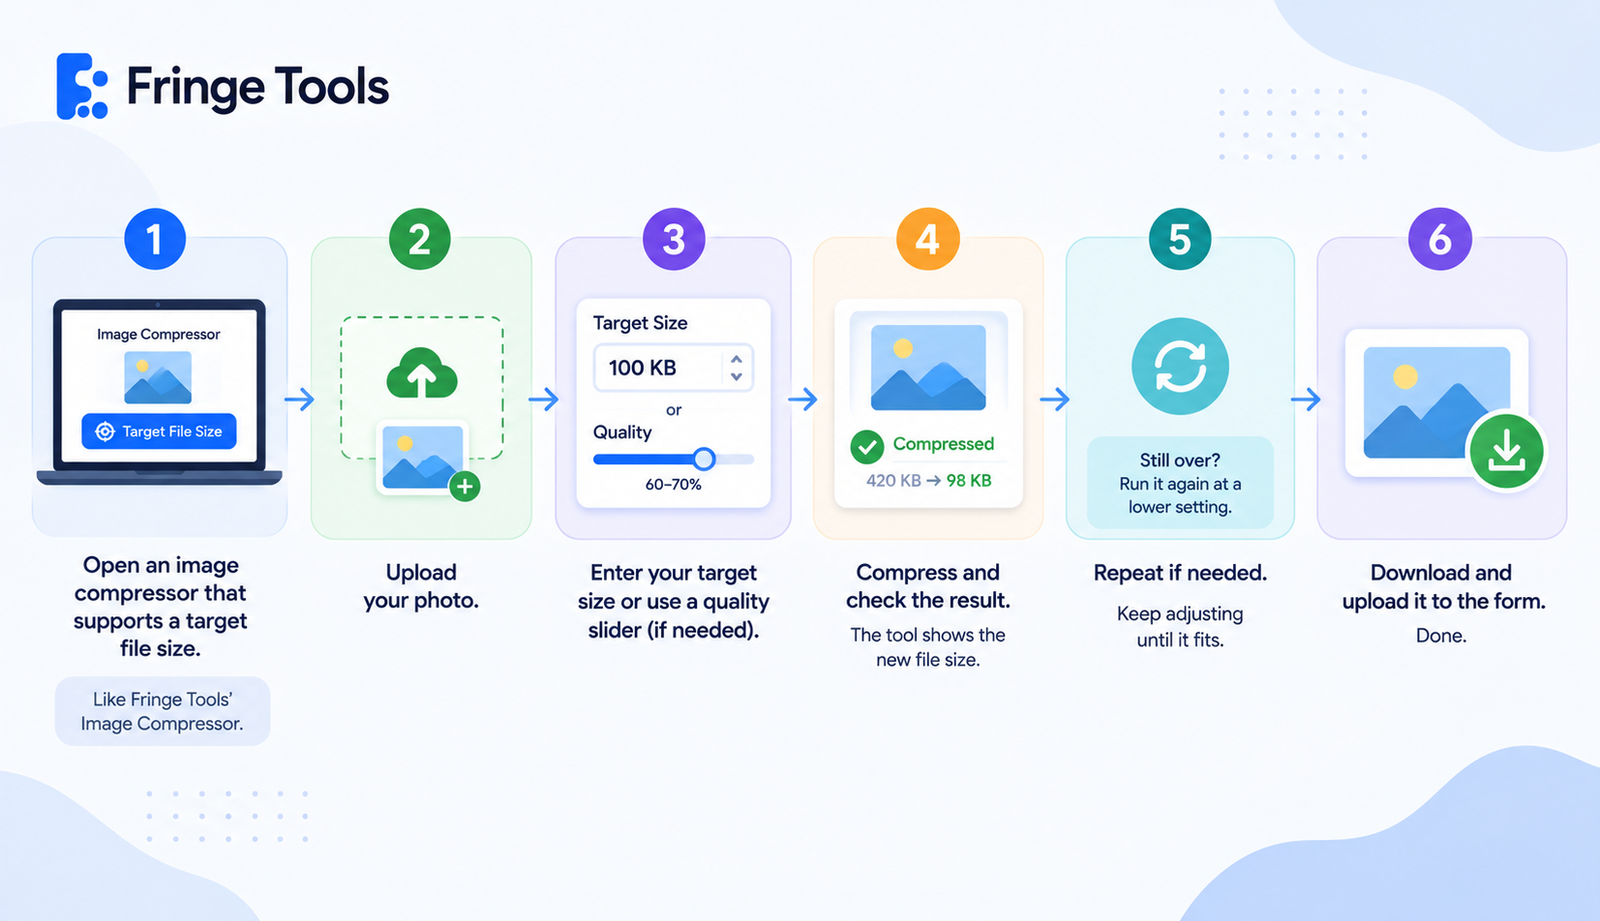
Open an image compressor that supports a target file size, like Fringe Tools' Image Compressor. Not every tool has this - some only offer a quality slider, which means guessing.
-
Upload your photo.
-
Enter your target size, such as 100KB or 200KB, if the tool supports it. If it only has a quality slider, start around 60-70% and check the resulting file size.
-
Compress and check the result. The tool will show you the new file size after processing.
-
Repeat if needed. If the file is still slightly over, run it through again at a lower setting until it fits.
-
Download and upload it to the form. Done.
If Your Tool Doesn't Have a "Target Size" Option
Plenty of compressors only give you a quality percentage instead of letting you type in a KB number directly. In that case, here's a practical way to get close:
-
Start at a moderate quality setting (around 70%) and check the result
-
If it's still above your limit, drop by 10-15% and try again
-
If you're still over after two or three attempts, resize the image dimensions down slightly before compressing - a photo that's smaller in pixel dimensions will compress to a lower KB size at the same quality setting
This two-step approach (resize, then compress) usually gets stubborn images under tight limits without a visible quality drop, since most upload forms display the photo fairly small anyway.
Common Situations Where an Exact Size Matters
-
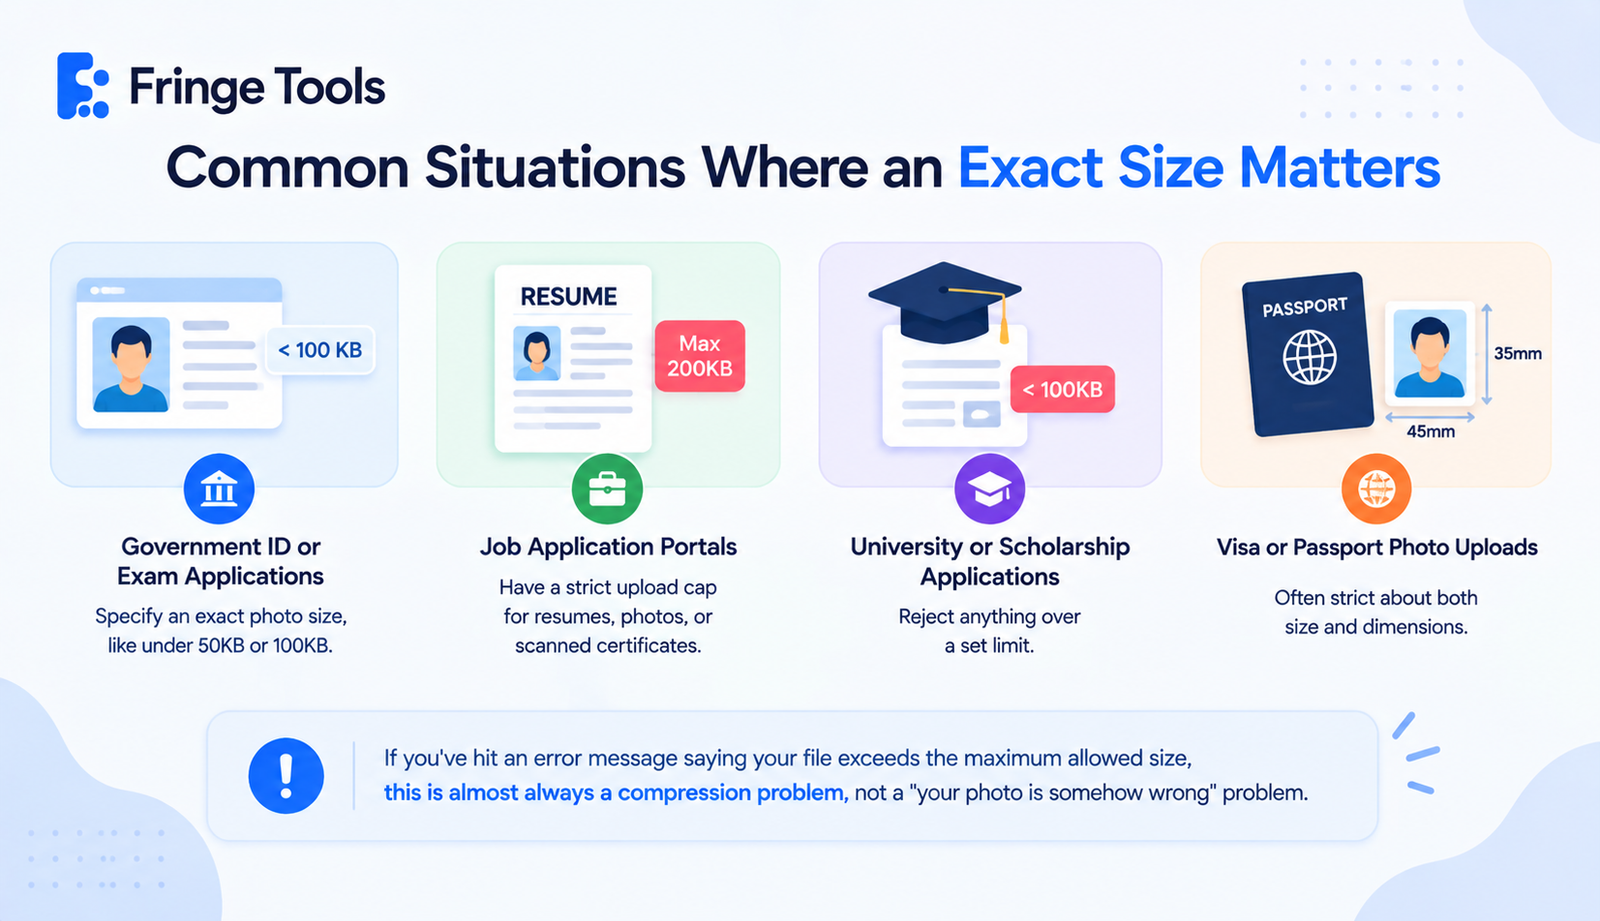
Government ID or exam applications that specify an exact photo size, like under 50KB or under 100KB
-
Job application portals with a strict upload cap for resumes, photos, or scanned certificates
-
University or scholarship applications that reject anything over a set limit
-
Visa or passport photo uploads, which are often unusually strict about both size and dimensions
If you've hit an error message saying your file exceeds the maximum allowed size, this is almost always a compression problem, not a "your photo is somehow wrong" problem.
A Quick Tip for Job and Form Photos Specifically
If you're compressing a photo ID or a headshot for a job application, resist the urge to compress it as small as possible just because the limit allows it. Get it under the required size, but not dramatically under - a photo compressed way past the limit "just to be safe" can start looking noticeably blurry to whoever's reviewing it. Aim for just under the cap, not half of it.